Fall weather calls for a certain kind of food- #PSL, anyone? ;) My fall staple is apple, apple ANYTHING. So today, when I was surfing through Pinterest and found the caramel apple equivalent of a blooming onion, I was sold.
Also, the chicken I was planning on making for tonight's post didn't defrost and the only other thing in the apartment was the previously-mentioned apples.
I'll post the link to the original poster's blog, as well as the original recipe. She includes a lot of pictures that I won't, illustrating the process on a minute-by-minute basis.
This recipe is for two apples, took about 10 minutes of prep, and made my apartment smell amazing. Here's the instructions for your own apple blossoms:
- Preheat the oven to 375 degrees. Did that. Also had to relight my pilot light, like a grown up. Go me.
- Slice off the top 1/4 to 1/3 of the apples. Scoop out the core. I don't own a corer, but a small spoon did just fine.
- Use a thin knife to make two, deep circular cuts around the center of the apple. Next, turn the apple over and make narrow cuts all the way around the apple. Flip it back over and you can see all of the cuts. I lied, I am going to include some pictures. Sorry Jen! :)

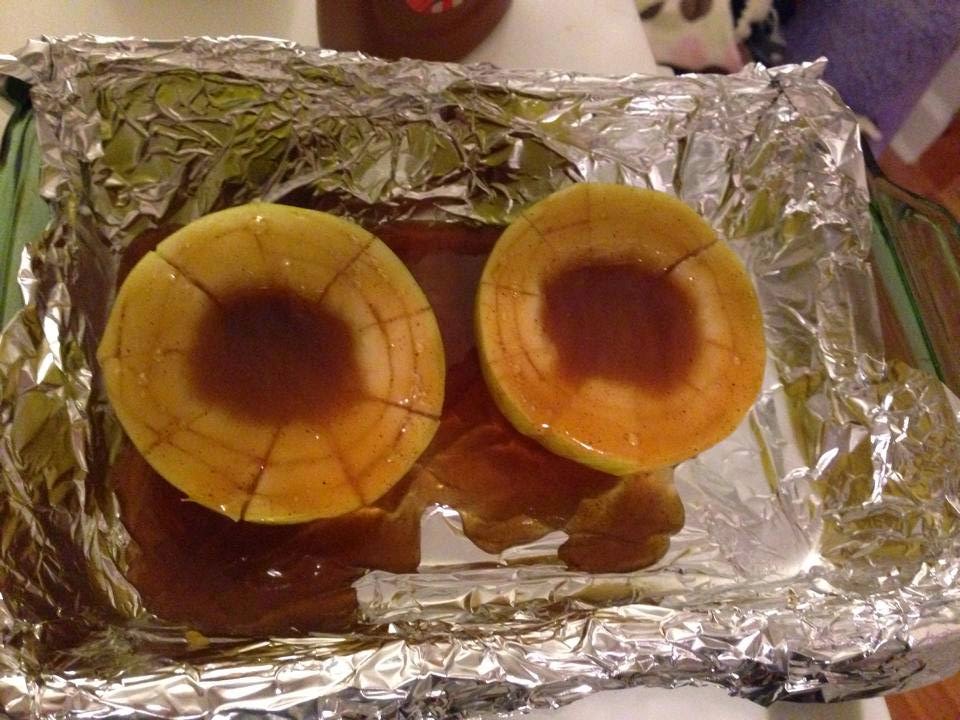
Here's the better of the two apples after being cored and cut. - Place the apples in an oven safe dish and put two caramels into the center of each apple. I used salted caramel ice cream sauce, and it worked fine.
- Heat 2 tablespoons of butter and three tablespoons of packed brown sugar in the microwave for 30 second, stir and continue heating for an additional 30 seconds. Remove from the microwave and stir in flour and cinnamon. Divide the mixture over the top of the two sliced apples. I did not add flour to this, because I'm still out from the bread bowl debacle. I also heated it on the stove instead. While this... sauce? glaze? Something? Whatever it is, was a bit thin without the flour, It definitely tasted good. Also, I got to use my fancy APPLE measuring spoons at this step (Thanks Mom!).
Halfway through baking 
Thanks Mom :) - Bake at 375 for 25-30 minutes. At the halfway point, I did take them out and spooned the sauce back over them.
- Remove from the oven and use a large spoon to move the apples into bowls. I cut the apples off of the core and put it into a coffee mug instead- portability is nice when you want to binge watch Gilmore Girls. And, that way I was able to pour the extra sauce/glaze/stuff on top of it.
All in all, this went MUCH better than the bread bowls. I felt so cool making this very, very easy recipe- from the fancy cutting and coring to the sauce thing. Also, I had no idea that melting butter and brown sugar would make that sauce thing. I'm definitely going to make this again. After all, there's nothing else in my fridge. And this is semi-healthy, right? At least it has fruit in it? Whatever, it's delicious.
 | |
| Look at that. Perfect for binge-watching! |
A+ to this recipe, and snaps to me. While this isn't an entire meal, I was proud of how well it turned out. And so ends this (decidedly less humorous, sorry!) post, with to minutes to spare! I'll post again on Thursday, with a four-ingredient chicken recipe that is to die for, courtesy of my friend Matt. If you have any specific recipe or technique you would like to see, comment below or email me at dontexpectmiraclesblog@gmail.com, and I will do my best to attempt it! Thanks for reading!
Here's the original recipe: http://www.thegunnysack.com/2014/09/bloomin-baked-apples-recipe.html
No comments:
Post a Comment